Many industries require reliable sterilization for safe medical procedures, from veterinary clinics to dental practices to hospitals. If you sterilize medical equipment regularly, you need a system that can easily clean hard-to-reach areas. A medical ultrasonic cleaning machine is one of the most effective ways to clean your instruments of blood, tissue and mineral deposits.
According to the CDC, removing excess debris from your instruments is essential before sterilization. Using ultrasonic cleaners, you can prevent the transmission of infection by cleaning visible contaminants before following up with sterilization methods like autoclaving. Here’s what you need to know about ultrasonic cleaning at your facility.
What Is an Ultrasonic Cleaner?
An ultrasonic cleaner is a machine that generates high-frequency sound waves to form tiny bubbles within a liquid solution. As the bubbles form and implode through a process known as cavitation, the machine helps dislodge dirt and tightly adhered contaminants from intricate items. The cleaning solution in an ultrasonic cleaner can be a range of gentle detergents, acid solutions or enzymes to break down the biological matter.
Ultrasonic cleaning machines are used in various industries to thoroughly clean delicate parts, including:
- Fine jewelry
- Dental care instruments
- Scientific samples
- Surgical instruments
- Tools
- Industrial parts
- Endoscopes
- Implants
- Lenses and sensors
- Electronics
- Aerospace equipment
Immersing these objects in the cleaning solution loosens and removes common contaminants, such as rust, mold, bacteria and oil.
In the health care setting, ultrasonic cleaners are vital for disinfecting surgical instruments between patients. Because many medical devices and products have small serrations and recesses, hand-washing is not sufficient. An ultrasonic cleaner for medical instruments can effectively remove soils from visible and blind holes.
To visualize how an ultrasonic cleaner works, consider the effectiveness of a medical ultrasound. Using high-intensity sound waves that cannot be heard by human ears, doctors and technicians can produce images for diagnostic purposes, such as identifying pregnancy.
What Happens During the Ultrasonic Cleaning Process?
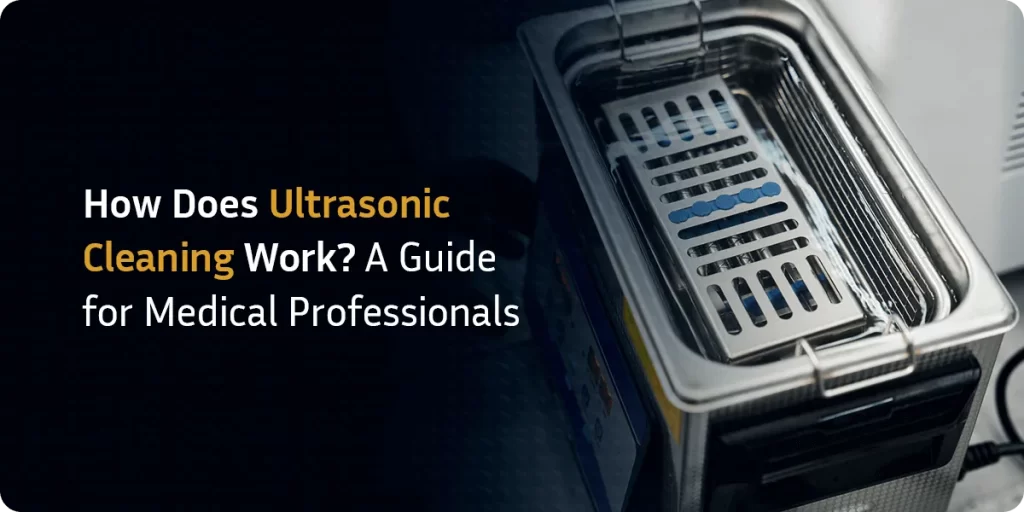
During the ultrasonic cleaning process, items are typically placed in cases and trays before being immersed in the solution. The ultrasonic cleaning tank, which features a generator and a transducer, transforms alternating current (AC) electrical energy into an ultrasonic frequency.
Those operating the machine will need to use small test strips, called indicators, which contain sample soil from the objects being cleaned. As the cleaning cycle begins, high-frequency sound waves are transmitted through the cleaning fluid. The ultrasonic cleaning solution quickly becomes agitated enough to clean the surface and crevices of the items. Once the cycle concludes, the items and indicators must be thoroughly examined for any remnants of dirt.
While an ultrasonic cleaner is a vital part of the sterilization process, it does not sterilize the items. All instruments and items that have undergone the ultrasonic process must be put through an automated washer/disinfector, as they may still contain pathogens and microorganisms. Then, they can be placed in an autoclave.
How to Use an Ultrasonic Cleaner
If you’ve never used an ultrasonic cleaner, or are looking to train employees on how to use it, here are some basic steps:
- Inspect the instruments for visible debris, such as dirt, grease, blood and tissue.
- Manually clean the instruments to remove excess contaminants.
- Separate instruments by metal type.
- Place the instruments in a basket or trays.
- Ensure the machine has the proper cleaning solution.
- Load the machine without overcrowding the instruments.
- Ensure the items are fully submerged.
- Follow the manufacturer’s instructions for the maximum weight.
- Begin the cycle.
- Clean, rinse and dry the ultrasonic cleaner at least once a day.
There is no specific amount of time for each cleaning cycle, as it can differ based on several factors:
- The size of the load
- The material of your instruments
- The level of soil
- The type of cleaning solution
- The manufacturer’s guidelines
However, an ultrasonic cleaning process should take about three to 15 minutes. In some cases, you may need to increase the heat to enhance the chemical activity of the cleaning solution.

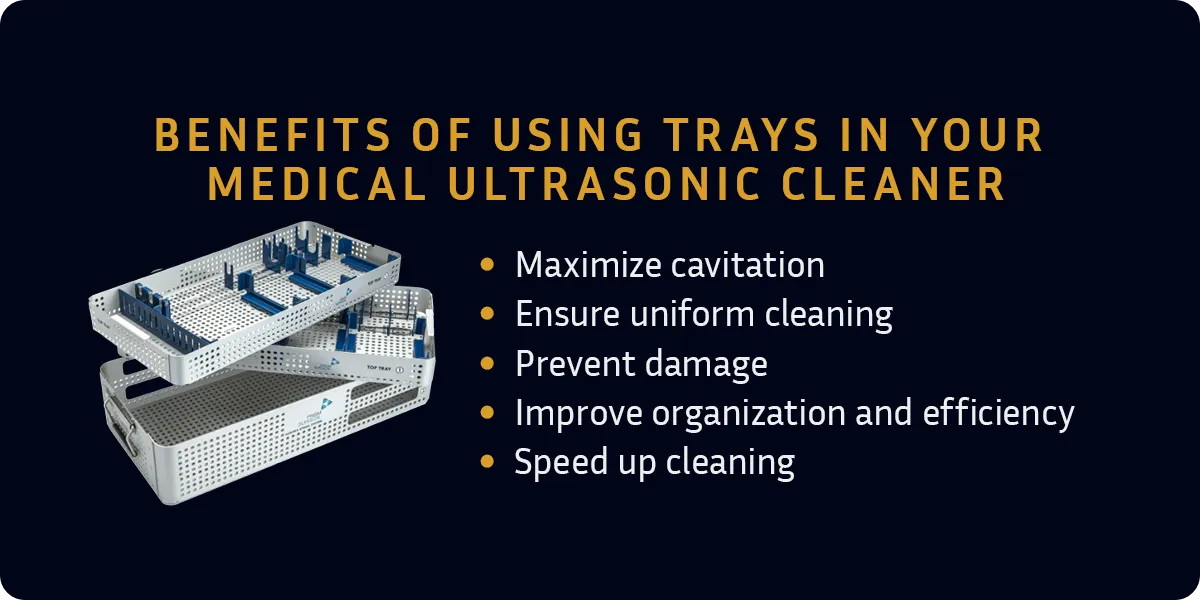
Benefits of Using Trays in Your Medical Ultrasonic Cleaner
You can use a variety of baskets, trays and cases to hold your medical instruments while they’re being cleaned in the ultrasonic machine. These trays can also be used in an autoclave during the surgical instrument sterilization process.
Check out these top advantages of ultrasonic cleaning trays at your medical practice:
- Maximize cavitation: Ultrasonic cleaner trays, baskets and cases are specifically designed for delicate medical and dental instruments. You can feel confident that these cases will not disrupt the effectiveness of ultrasonic cleaning.
- Ensure uniform cleaning: Surgical instrument trays and cases have internal channels that allow the cleaning solution to flow through them. This ensures all items are properly submerged and exposed to ultrasonic waves, which can help produce more thorough cleaning.
- Prevent damage: Ultrasonic cleaning cases and trays prevent metal instruments from scratching or dinging the machine’s surface. Because these trays help absorb some of the ultrasonic energy, they can reduce the vibrational impact on the machine’s walls. Medical trays can also protect instruments from hitting each other and causing breakage.
- Improve organization and efficiency: Using medical ultrasonic cleaner trays keeps your instruments well-organized, making it easier and more efficient to load and unload the machine.
- Speed up cleaning: Like autoclaves, ultrasonic cleaners can clean multiple instruments at the same time. This method is gentle, quick and effective enough for even the most delicate parts, and it often only takes one cycle to clean unwanted material.
Importance of Properly Sterilizing Your Medical Instruments
Industries like medical and dental must comply with strict hygiene and biohazard standards. Improper cleaning or sterilization processes can lead to insufficient cleaning outcomes, such as infection and disease transmission. Abiding by proper sanitation and sterilization techniques is essential. Fortunately, you can use effective organizing systems to help you protect and maintain your instruments.
If you want to enhance quality control while improving cleaning efficiency for staff, you need the right products that meet your instrument requirements. Whether you’re using single or bi-level container systems for your ultrasonic cleaner or sterilization instrument cases for your autoclave, these protective cases are vital for reliable sterilization.

Contact Jewel Precision for Sterilization Systems and Products
Keeping your surgical, medical or dental instruments clean between patients is paramount. By following these best practices for using an ultrasonic cleaner, you can expect a smooth transition from sanitation to sterilization in an autoclave.
At Jewel Precision, we’re experts in all things sterilization. Our high-quality surgical instrument organizing systems are thoughtfully designed for secure storage and sterilization. From protective cases to sterilization trays to custom systems, we have everything you need to streamline transport, storage and protection. In addition to exceptional customer service, we’re proud to offer competitive pricing and fast lead times.
We understand that sterilization processes can’t wait. We can ship our modular systems out quickly to meet your needs as soon as possible. Contact us today to learn more about our cases for medical equipment.