Medical offices must know how to autoclave pipette tips to reduce the risk of cross-contamination when performing critical tests.
Steps to Sterilize a Pipette in an Autoclave
Autoclaves play a significant role in decontaminating biohazardous materials and ensuring lab safety. They’re a core piece of equipment used in most labs, from microbiology to biotechnology. Lab techs typically use them to sterilize media, tips and glassware.
These machines use high temperatures and pressures, so it’s crucial to follow lab safety best practices when using autoclave pipette tips.
Before starting the process, always inspect the door gasket for cracks. You should also check the jacket pressure to ensure it’s suitable for your equipment. When you’re ready, follow these steps to sterilize a pipette or pipette tips in an autoclave:
- Set the volume to nominal.
- Unlock the system’s volume locking option.
- Clean the pipette parts with a simple sterilizing solution and cloth.
- Put the pipette or pipette tips onto a suitable sterilization case and load it into the autoclave.
- Close and lock the autoclave.
- Autoclave it at a gravity cycle of 252 degrees Fahrenheit for 20 minutes under one bar of relative pressure.
- While the cycle is running, ensure you add it to the lab’s autoclave log.
- Once the cycle is complete, carefully remove the case and allow it to cool overnight.
- When the pipette is completely dry, test it according to your standard operating procedures and use it as needed.
When Should Pipettes Be Sterilized?
One of the best pipette-cleaning tips is to give them a quick daily clean with 70% ethanol. Depending on what your lab works with, you may want to deep clean them in an autoclave anywhere from weekly to every few months. If you work with RNA or perform other highly sensitive tests, it’s a good idea to deep clean more often.
Keep a set of spare filter tips in case you run out so you can keep your pipette contaminant-free without having to pause critical work. Accidents happen, like over-aspirating your sample. In these cases, if you don’t have spares, you’d need to decontaminate the pipette before continuing.
Are All Pipette Tips Autoclavable?
Regardless of how careful you are, contaminants will inevitably enter your pipette. It’s impossible to clean it with typical daily cleaning practices. You’ll need to deep clean it to get to the hard-to-reach gaps. For the most part, all pipette tips are autoclavable — it’s the internal elements that may be more vulnerable.
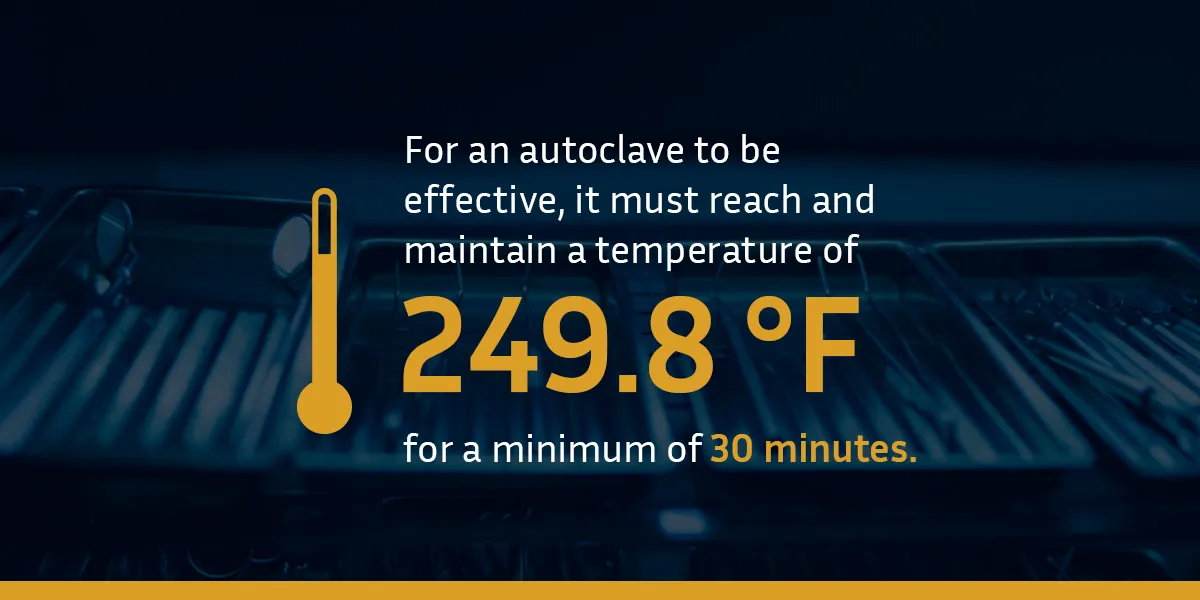
Some pipettes can be autoclaved, but others need to be taken apart first. Typically, you’d only be able to autoclave the external parts. For an autoclave to be effective, it must reach and maintain a temperature of 249.8 degrees Fahrenheit for a minimum of 30 minutes. Ensure your pipette can handle these temperatures.

Should You Sterilize the Entire Pipette?
You may not be able to autoclave the entire pipette. Some instruments can’t be autoclaved, and it’s important to know what they are to prevent damage or injury.
Most pipettes have some parts that are autoclavable, like the connecting nut and tip ejector. Some internal parts require specialized cleaning. If you put them in the autoclave, you could cause a pipette leakage and render inaccurate results.
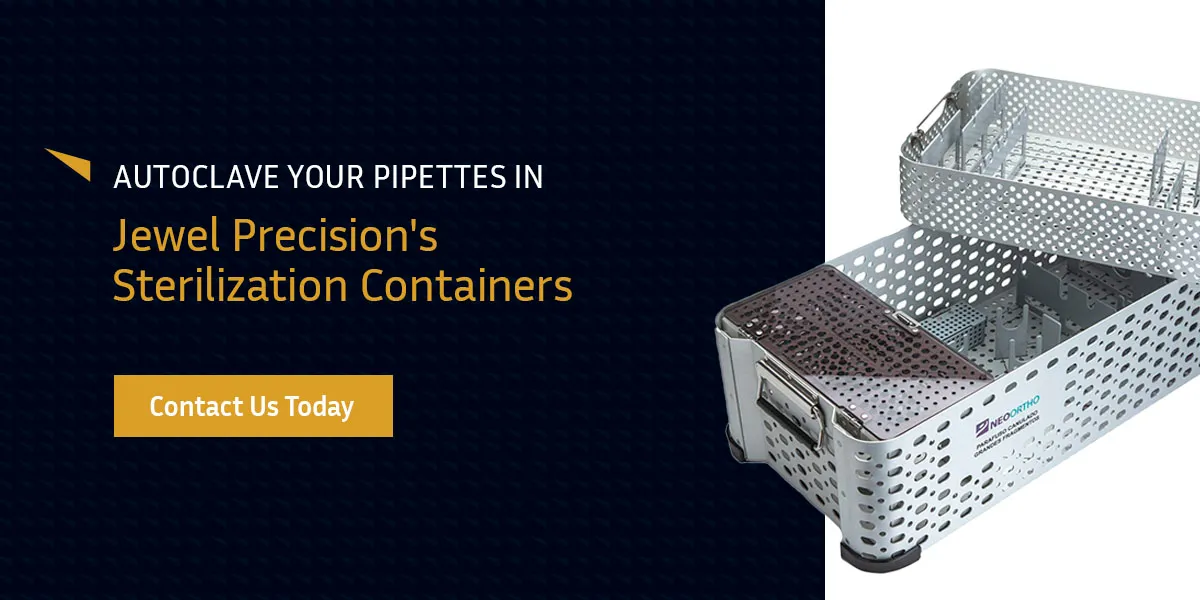
You may need to remove the following parts and place them into custom orthopedic sterilization cases so that they’ll be secured and protected in the autoclave:
- Pipette tips
- Tip ejector
- O ring
- Tip holder
- External upper and lower parts
Best Practices for Autoclaving Pipettes
Autoclaves are a common piece of laboratory equipment. It’s crucial to follow these best practices for sterilizing pipette tips to ensure efficiency and safety for lab techs and equipment:
Wear PPE
Always wear personal protective equipment (PPE) when working with an autoclave or contaminated materials. It helps prevent illness, injury and other occupational hazards. Here are some examples of common PPE worn in a lab:
- Lab coats
- Safety glasses
- Chemical resistant gloves
- Closed-toe shoes
- Face shields
Go Bag Free
You don’t have to use a bag for a pipette as long as you have a reliable sterilization case. The bag prevents the pipette from drying out faster.
If it’s required to use a bag in certain labs, fold one corner of the autoclave tape. This makes it easier to remove when the items are finished in the autoclave.
Leave Space
Ensure there’s sufficient space between items so the steam can flow easily. This creates sterile pipette tips that are evenly cleaned.
If it’s a busy day at the lab, you can stack up boxes of pipettes a little over the brim if you have a big enough autoclave tray. You can only do this with completely dry pipettes. Avoid overloading the chamber or blocking the drain, and never place items on the bottom of the machine.
Ensure Efficiency
Pipette boxes can accumulate fast if you don’t clean them routinely. It’s a good idea for medical offices to invest in multiple quality sterilization cases so lab techs can autoclave pipettes regularly and not run out.
It’s good practice to move the tape to the top of the box after autoclaving. This tells other lab techs that the pipettes are newly autoclaved and ready for use.
Be Safe
When opening the autoclave door after use, check the gauge to ensure the temperature has dropped to a safe enough range and the chamber pressure is at 0 pounds per square inch (PSI). Stand behind the door when opening for added protection.
Open it no more than 1 inch to let the residual steam out and allow the pressure within the pipettes to normalize. Let the door stay open for 10 minutes before you remove the pipettes.
Once you’ve used the autoclave, it’s best to leave the door ajar to protect the rubber gaskets.
Autoclave Your Pipettes In Jewel Precision’s Sterilization Containers

At Jewel Precision, we specialize in creating cases and trays that secure and protect surgical tools while they’re in an autoclave. Our cases can be used for steam sterilization and transportation to the autoclave. They come in custom sizes and styles for added convenience. You can add your logo or product descriptions to the containers for increased visibility and marketing.
Why choose us? We offer fast turnaround times and competitive pricing. Our modular systems can be shipped to you quickly and are available in various sizes and designs. We’ve dedicated more than 35 years to perfecting our products, using durable materials and advanced designs to give you the most reliable cases and trays on the market. Feel free to contact us for a quote or call us to place an order.