In the medical industry, ensuring the safety and cleanliness of instruments is paramount. Sterilization pouches and peel packs are crucial to the sterilization process. They provide a reliable barrier against contamination while allowing easy access to sterile instruments.
This guide to sterilization pouches and peel packs will explore their types and materials. It will also examine the best practices for use and sterilization validation to ensure the highest patient safety and care standards.
What Is a Peel Pack?
A peel pack, also known as a sterilization pouch, is a packaging system used to maintain the sterility of medical and dental instruments after they have undergone the sterilization process. The term “peel pack” refers to the unique opening mechanism of these pouches, which allows for easy and aseptic access to the sterilized contents.
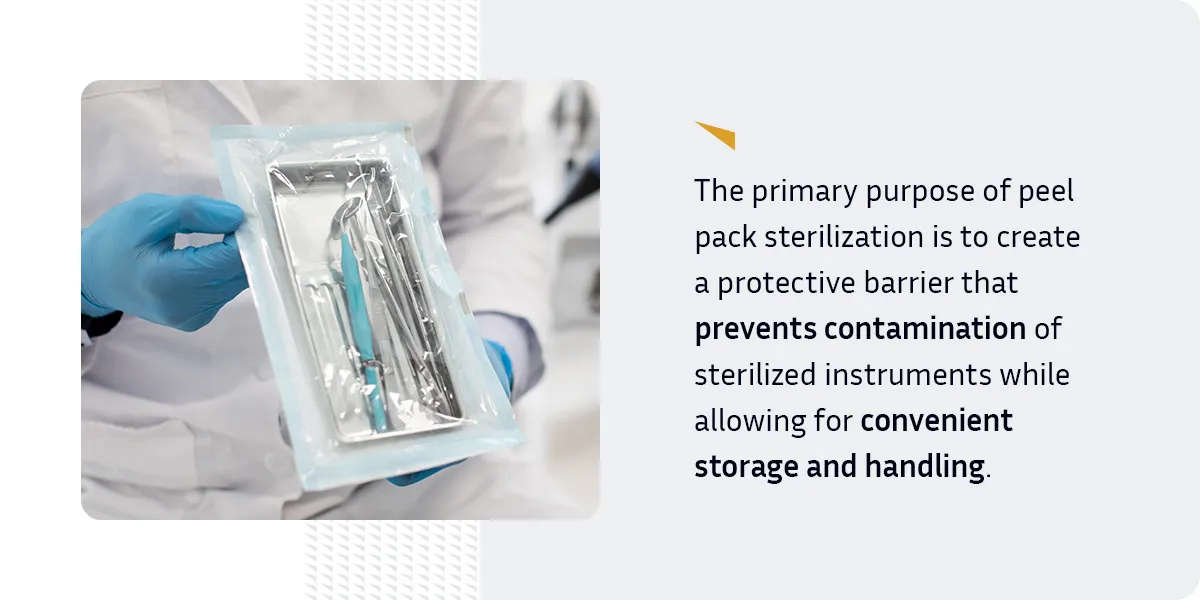
The primary purpose of peel pack sterilization is to create a protective barrier that prevents contamination of sterilized instruments while allowing for convenient storage and handling. These pouches are designed to maintain the sterility of their contents until the moment of use, ensuring medical professionals have access to clean, safe instruments when needed.
Peel pack sterilization is commonly used in various medical and dental settings, including:
- Hospitals and surgical centers.
- Dental clinics.
- Outpatient care facilities.
- Medical laboratories.
- Veterinary clinics.
In these environments, the following items can be processed in a peel package:
- Surgical instruments, such as scalpels, forceps and scissors
- Dental tools like explorers, mirrors and probes
- Diagnostic equipment
- Implantable devices
- Wound care supplies
The versatility and reliability of peel packs make them an indispensable tool in maintaining sterility and preventing infections. By providing a secure barrier against contaminants while allowing for easy access to sterile instruments, peel packs help maintain the highest standards of patient care and safety across various health care settings.
Types of Sterilization Pouches
Several types of sterilization pouches are available, each designed to meet specific needs and preferences. The most commonly used types of sterilization pouches include the following.
Self-Sealing Sterilization Pouches
A self-sealing sterilization pouch is designed for convenience and ease of use. It features an adhesive strip allowing quick and secure closure without additional sealing equipment.
Using a self-sealing pouch typically involves placing the instrument inside, removing the protective strip from the adhesive, folding the flap over and pressing firmly to create a seal.
Self-sealing pouches are quick and easy to use and require no additional equipment. They’re ideal for facilities with lower sterilization volumes, like dental offices and outpatient clinics, where convenience and efficiency are paramount.
Heat-Sealed Sterilization Pouches
Heat-sealed sterilization pouches require a separate heat-sealing device to close the pouch securely. This pouch type offers a more robust seal and is often preferred in high-volume sterilization settings.
The process involves inserting the instrument into the pouch, placing the open end into a heat-sealing machine and activating the sealer to create a strong, tamper-evident seal.
Heat-sealed pouches have a stronger, more reliable seal and are more suitable for larger or heavier instruments. They are often preferred in high-volume sterilization environments, such as large hospitals, centralized sterilization environments and medical device manufacturing facilities.
Gusseted Sterilization Pouches
Gusseted pouches feature expandable sides that accommodate larger or bulkier items. They are particularly useful for instrument kits, oddly shaped devices and larger surgical instruments. The gusseted design provides extra space and flexibility, making it easier to package and sterilize items that might not fit comfortably in standard flat pouches.
The expandable nature of gusseted pouches allows for better steam penetration during the sterilization process, as the extra space permits improved circulation of sterilizing agents. It can also help reduce stress on the seals when packaging irregularly shaped items, potentially extending the shelf life of the sterilized package.
Dual-Layer Sterilization Pouches
These pouches feature two distinct layers, typically a paper layer and a cleaner plastic film layer. The dual-layer design offers enhanced protection against contamination and improved visibility of pouch contents.
Dual-layer pouches often incorporate advanced indicator systems that provide clear visual cues when sterilization parameters have been met. These indicators can change colors or patterns, offering additional assurance that the sterilization process has been effective.
Material Used in Sterilization Pouches
The effectiveness of sterilization pouches largely depends on the materials used in their construction. The most common materials are:
- Paper: Medical-grade paper is a crucial component in many sterilization pouches. It is porous, allowing sterilizing agents like steam to penetrate the pouch. Paper also prevents microorganisms from entering the pouch after sterilization and facilitates air removal during the sterilization process due to its breathability.
- Plastic: Plastic components are made of a transparent, medical-grade film. This film allows for easy identification of pouch contents and protects sterilized instruments from environmental contaminants. It also enhances the overall strength of the pouch.
The Importance of Autoclave-Compatible Materials
The materials used in sterilization pouches must be autoclave-compatible. Autoclave compatibility means pouches can withstand the high temperatures and pressures of the autoclave sterilization process without compromising the integrity or sterility of the contents.
Autoclave-compatible materials ensure:
- Effective sterilization: The materials allow sterilizing agents to penetrate the pouch and reach the instruments.
- The contents remain sterile: The pouch remains intact during and after the sterilization process, preserving the sterility of the contents.
- Safety: Autoclave-compatible materials do not release harmful chemicals or break down under sterilization conditions.
- Compliance: Using appropriate materials ensures adherence to sterilization standards and regulations.
If the materials used in sterilization pouches are autoclave-incompatible, they may melt or deform, compromising the sterile barrier. They could also block the penetration of sterilizing agents and release contaminants that could affect instrument sterility. Additionally, autoclave-incompatible materials could fail to maintain the integrity of the pouch during storage, potentially contaminating the sterilized instruments.
Best Practices for Using Sterilization Pouches
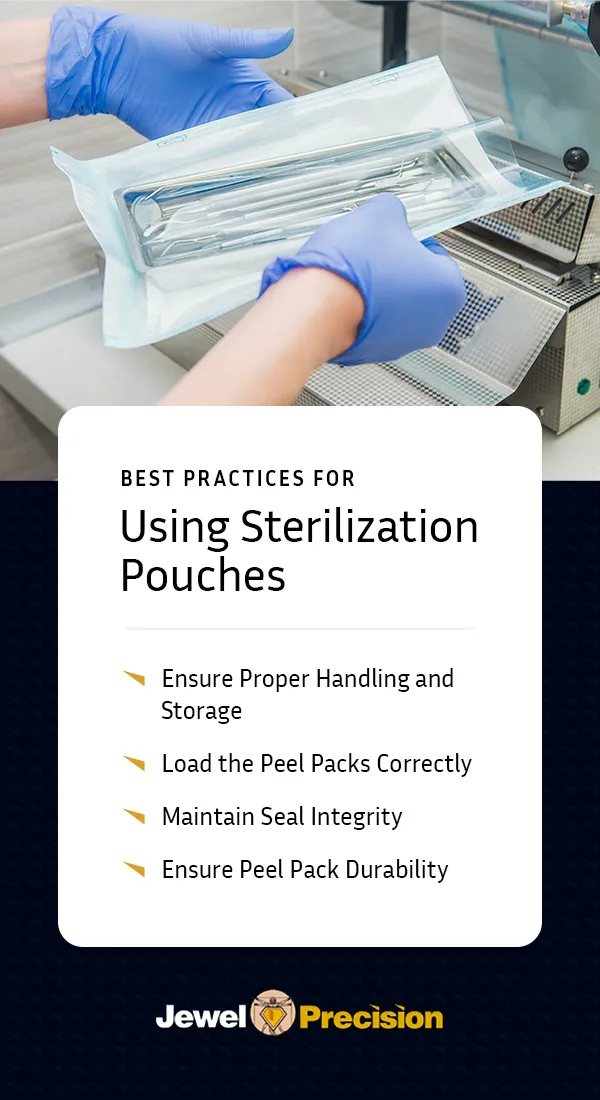
It’s essential to follow best practices to maximize the effectiveness of sterilization pouches and maintain the sterility of medical instruments.
1. Ensure Proper Handling and Storage
Correct sterilization pouch handling is crucial to prevent contamination and maintain the integrity of sterilized instruments. When handling sterilized pouches, follow these guidelines:
- Always handle pouches with clean, dry hands or while wearing sterile gloves.
- When inserting or removing instruments, do not touch the inside of the pouch.
- Inspect pouches with clean, dry hands or while wearing sterile gloves.
- Keep sterilized pouches in a clean, dry environment away from direct sunlight and potential contaminants.
- Organize stored pouches to ensure older ones are used first.
- Store pouches in a single layer to prevent damage and maintain sterility
- Store sterilized pouches in an area with a controlled temperature below 75 degrees Fahrenheit or 24 degrees Celsius and a 30% to 50% relative humidity.
2. Load the Peel Packs Correctly
Proper loading and placement of peel packs in autoclaves is essential for effective sterilization. When placing peel pouches in an autoclave for sterilization, the key is to avoid overcrowding by placing pouches in a single layer with space between them for steam circulation. Position the pouches on their edge, paper side down, or flat with the plastic side facing down to allow air removal and steam penetration.
Using sterilization racks or baskets can ensure proper spacing and prevent pouches from touching autoclave walls. Avoiding overlapping pouches is crucial, as overlapping can impede steam penetration and affect sterilization efficacy. Always follow guidelines from the autoclave and pouch manufacturers for optimal results.
3. Maintain Seal Integrity
Maintaining seal integrity is crucial for preventing contamination and ensuring the effectiveness of peel pack sterilization. For self-sealing pouches, ensure a complete and even seal across the entire width. If using heat-sealing equipment, perform regular maintenance and calibration to ensure consistent results.
Visually inspect seals for completeness and uniformity before and after sterilization. Periodically perform seal strength tests for quality assurance, and avoid overloading pouches, as overfilling can strain seals and compromise their integrity.
4. Ensure Peel Pack Durability
To maintain the durability of peel packs for sterilization, store pouches in a clean, dry environment to prevent degradation. Handle pouches gently to avoid tears and punctures, and use pouches that properly fit the instruments to prevent stress on seals.
Choose high-quality pouches designed for durability and repeated sterilization cycles. Be aware of and adhere to the manufacturer’s shelf life for unused pouches.
Sterilization Validation and Indicators
Ensuring the effectiveness of the sterilization process is crucial for patient safety. Check for pouch color changes and validate the process to ensure peel pack sterilization.
Sterilization Pouch Color Changes
One of the most visible and immediate ways to verify successful sterilization is through sterilization pouch color changes. Many sterilization pouches are equipped with chemical indicators that change when exposed to specific sterilization conditions. This color change provides a quick visual confirmation that the pouch has successfully completed the sterilization process.
There are several types of indicators used in sterilization pouches:
- External chemical indicators: These are located on the outside of the pouch and change color to indicate exposure to sterilization conditions. They provide a quick visual check for processed versus unprocessed items.
- Internal chemical indicators: These indicators are placed inside the pouch with the instruments and offer a more accurate indication of sterilization conditions within the pouch. They change color when exposed to specific temperatures, times and sterilants.
- Biological indicators: These contain live, resistant bacterial spores and provide the most reliable confirmation of sterilization effectiveness. They are used periodically as part of quality assurance protocols.
Validation Processes
Sterilization validation is a systematic approach to ensuring the effectiveness and reliability of the sterilization process. It involves several key steps, including:
- Installation qualification (IQ): The IQ process verifies that sterilization equipment is installed correctly and that all necessary utilities and components are in place.
- Operational qualification (OQ): OQ confirms that the sterilizer operates within specified parameters and involves testing the equipment under various conditions.
- Performance qualification (PQ): PQ demonstrates that the sterilization process consistently produces sterile items. It includes worst-case scenario testing and biological indicator challenges.
- Routine monitoring: This process involves regular use of chemical and biological indicators and periodic review of sterilization cycle records.
- Revalidation: This process is performed after significant changes to equipment or processes to ensure the ongoing effectiveness of the sterilization system.
Documentation and Compliance
Proper documentation is crucial for maintaining compliance with regulatory standards and ensuring the traceability of sterilized items. Key aspects of documentation include:
- Sterilization logs: These are details of each sterilization cycle, including date, time, cycle parameters and operator information.
- Indicator results: These cover results of chemical and biological indicators and records of sterilization pouch color change observations.
- Equipment maintenance records: These track routine maintenance and repairs of sterilization equipment and document calibration of monitoring devices.
- Training records: Training records include documentation of staff training on sterilization procedures, including complementary assessments and ongoing education.
- Quality assurance reports: These are regular reports on sterilization effectiveness and address deviations or nonconformities.
Frequently Asked Questions
To address common queries about peel packs for sterilization, we’ve compiled a list of FAQs.
How Long Are Peel Packs Good For?
The shelf life of sterilized peel packs depends on several factors, including storage conditions, handling practices and the specific type of pouch. Properly stored peel packs — those stored in a clean, dry environment — last longest. Research shows that some heat-sealed pouches can last as long as nine months from their sterilization date.
What Is the Most Appropriate Way to Open a Peel Pack Pouch?
To maintain sterility when opening a peel pack, hold the pouch with the clear plastic side facing down and locate the chevron or arrow indicating the peel direction. Carefully separate the paper and plastic layers at the designated opening, peel the layers apart in a smooth, controlled motion and allow the sterile item to slide onto a sterile field. Do not touch the inside of the pouch at any point.
Can You Write on Peel Packs?
Yes, you can write on peel packs. However, you should only use markers specifically designed for use on medical packaging. Write on the paper side of the pouch before sterilization to prevent introducing contaminants. Avoid writing over seals or indicator strips, and keep writing to a minimum to reduce the risk of ink penetration.
How Do You Properly Use Sterilization Pouches?
To properly use sterilization pouches, select the appropriate size. Sterilization pouch sizes vary, so choose one that accommodates your instrument while allowing space for sterilant circulation. Fill the pouch to about three-quarters capacity. Place clean, dry instruments inside, seal securely using the self-seal adhesive or heat sealer, and label if necessary. In the autoclave, position pouches correctly, either on their edge or flat, with the plastic side down.
Ensure Safe and Effective Sterilization With Cases and Trays From Jewel Precision
Properly sterilizing pouches is crucial for maintaining the highest patient safety standards. From selecting the right types of pouches to following the best practices in handling and validation, each step is vital in ensuring effective sterilization.
At Jewel Precision, we’re committed to enhancing your sterilization processes. Our range of custom and modular cases and trays for autoclave use helps provide comprehensive protection for your valuable medical implants and instruments. Contact us today for innovative, custom sterilization container systems that complement your sterilization needs.